571-323-3636
Our Blog
The Ultimate Glossary of Woodworking Terms to Level Up Your Craft
February 11, 2025
/
Woodworking has its own vocabulary, and understanding these terms can make a world of difference in your craft. Whether you’re a complete beginner wondering how do I get started with woodworking terminology or a seasoned pro looking to brush up on industry jargon, this glossary will help you master the language of lumber.
We’ll also answer some key woodworking questions, like what are common woodworking terms and their meanings, what tools do woodworkers use, and what is the difference between joinery and carpentry? Let’s get into it.
Woodworking Basics Every Beginner Should Know
Woodworking is the craft of building, shaping, and finishing objects out of wood. This can include everything from simple home DIY projects to masterful custom furniture. Before you grab your saw and start cutting, it’s crucial to understand the key terms that will help you communicate and work efficiently.
How Do I Get Started with Woodworking Terminology?
- Learn by Doing – Start with small projects that introduce you to different tools and techniques.
- Watch and Read – Follow woodworking YouTube channels, blogs, and books to familiarize yourself with terminology.
- Join a Woodworking Community – Forums, local workshops, and online groups are great places to ask questions and get tips from experts.
Common Woodworking Terms and Their Meanings
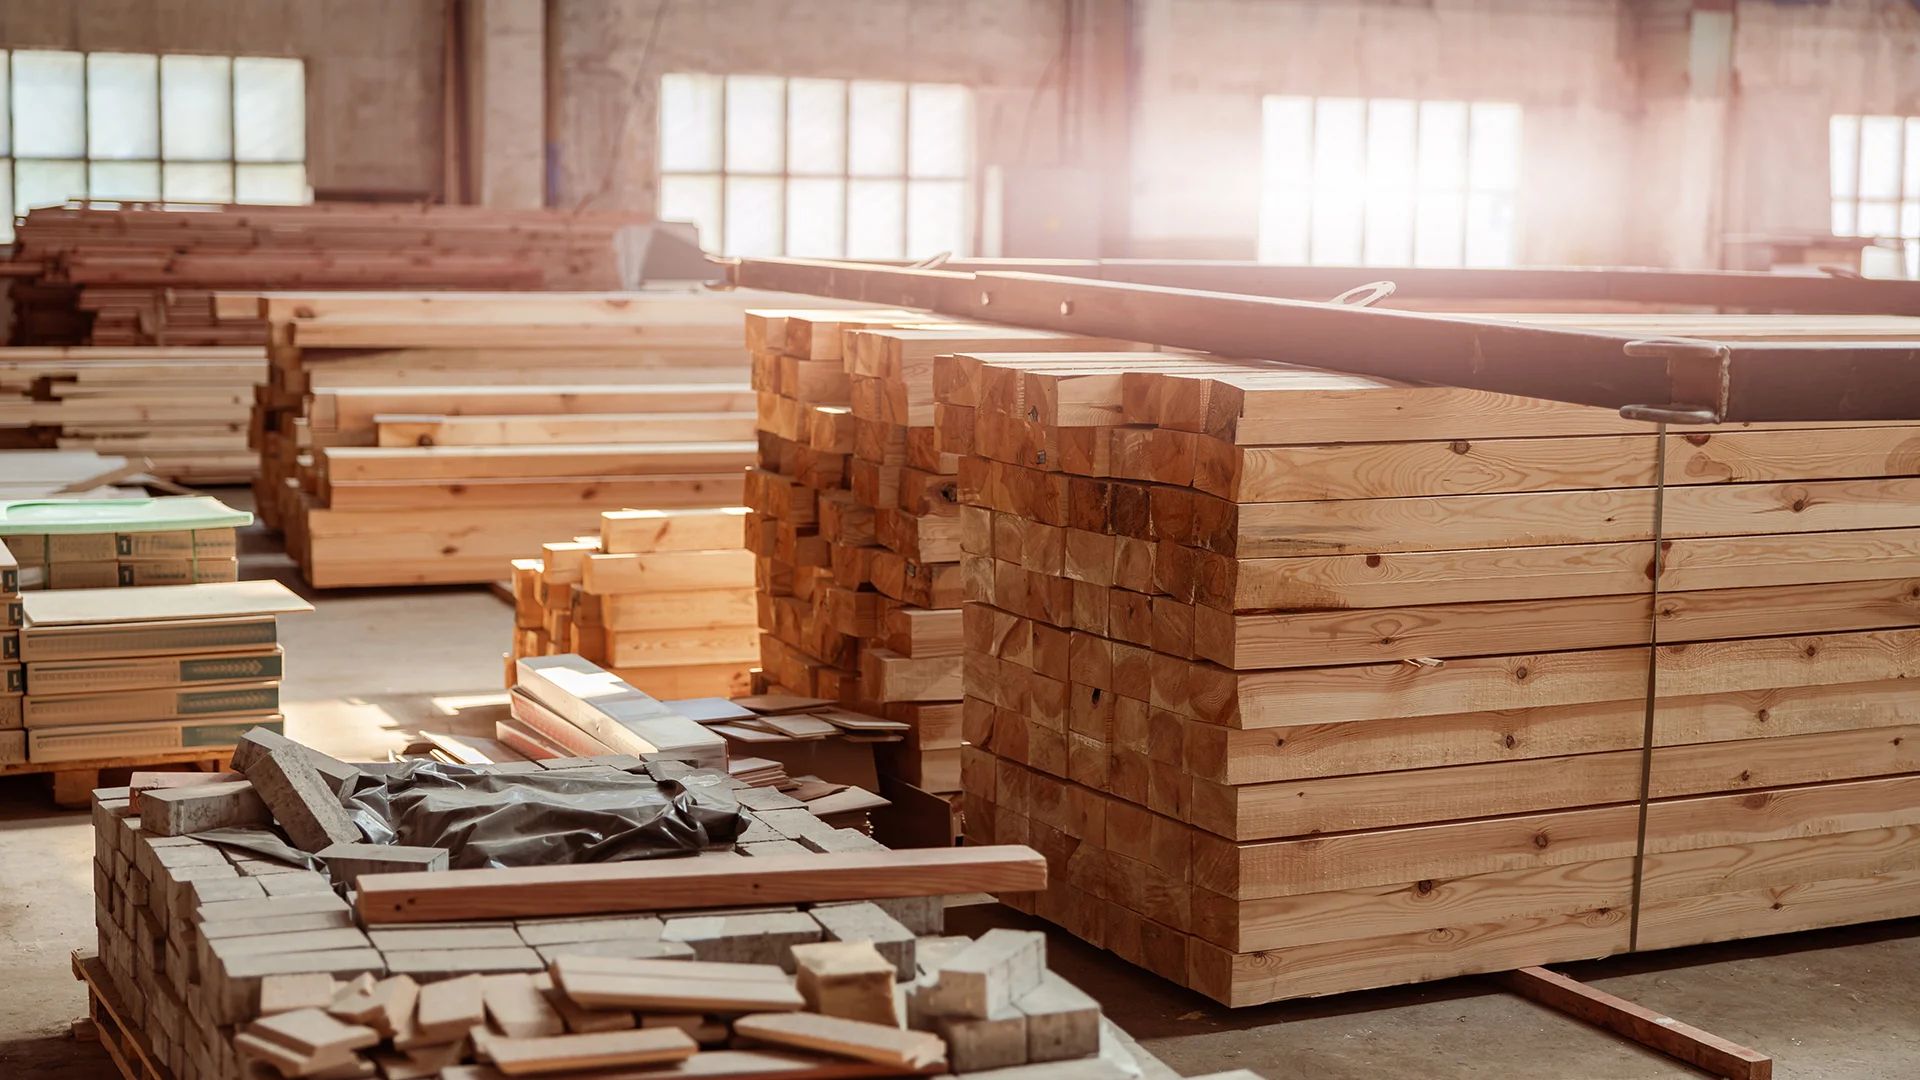
Types of Wood
Hardwood vs. Softwood –
- Hardwoods (like oak, maple, walnut, and cherry) come from deciduous trees, which shed their leaves annually. They tend to be denser, making them more durable but harder to work with.
- Softwoods (like pine, cedar, fir, and spruce) come from coniferous trees, which have needles and produce cones. They are generally lighter and easier to cut but may dent more easily.
Plywood vs. Solid Wood –
- Plywood is made by layering thin sheets of wood veneer, glued together with alternating grain directions for stability. It resists warping and is ideal for cabinets and structural work.
- Solid Wood comes from a single piece of lumber. It’s prized for its beauty and strength but is more prone to expansion and contraction due to humidity changes.
MDF vs. Particle Board –
- MDF (Medium-Density Fiberboard) is made from finely ground wood fibers mixed with resin. It has a smooth surface, making it great for painting, but it’s heavy and lacks structural strength.
- Particle Board is made from larger wood chips and sawdust bonded together with glue. It’s affordable and commonly used for inexpensive furniture, but it’s not very strong and can swell when exposed to moisture.
Veneer vs. Laminate –
- Veneer is a thin slice of real wood applied over a core material (like plywood or MDF). It provides the look of solid wood while being more cost-effective.
- Laminate is a synthetic surface printed with a wood-like design, applied to a core material. It’s durable and scratch-resistant but lacks the authenticity of real wood.
Quarter-Sawn vs. Plain-Sawn vs. Rift-Sawn Lumber –
- Quarter-Sawn – Cut at a 60-90° angle to the growth rings, creating a straight, uniform grain pattern. It’s more stable and resistant to warping.
- Plain-Sawn – The most common and cost-effective cut, featuring wavy or cathedral grain patterns. It’s less stable than quarter-sawn.
- Rift-Sawn – Similar to quarter-sawn but cut at a slightly different angle, resulting in a tighter, more linear grain pattern. Used for high-end furniture.
Green Wood vs. Kiln-Dried Wood –
- Green Wood is freshly cut lumber that contains a high moisture content, making it prone to warping and shrinking as it dries.
- Kiln-Dried Wood is dried in a controlled environment to reduce moisture, making it more stable and less likely to shrink or warp.
Exotic Woods – Rare and premium woods, often used for high-end furniture and specialty projects. Examples include:
- Mahogany – Deep reddish-brown, durable, and used for fine furniture.
- Teak – Naturally water-resistant, making it ideal for outdoor furniture.
- Ebony – Dense, dark, and luxurious, often used for accents and inlays.
- Rosewood – Beautiful grain patterns, commonly used in musical instruments.
Reclaimed Wood – Salvaged wood from old buildings, barns, or furniture. It’s eco-friendly and adds character due to its aged appearance.
Composite Wood – A mix of wood fibers and plastic or resin, often used for decking and outdoor applications. It’s resistant to moisture and insects.
Grain Direction – The pattern created by the alignment of wood fibers. Understanding grain direction is crucial for clean cuts and smooth planing, as cutting against the grain can cause tear-out and rough surfaces.
Measuring & Cutting Terms
- Kerf – The width of material removed by a saw blade. It’s important to account for kerf when making precise cuts to avoid material waste.
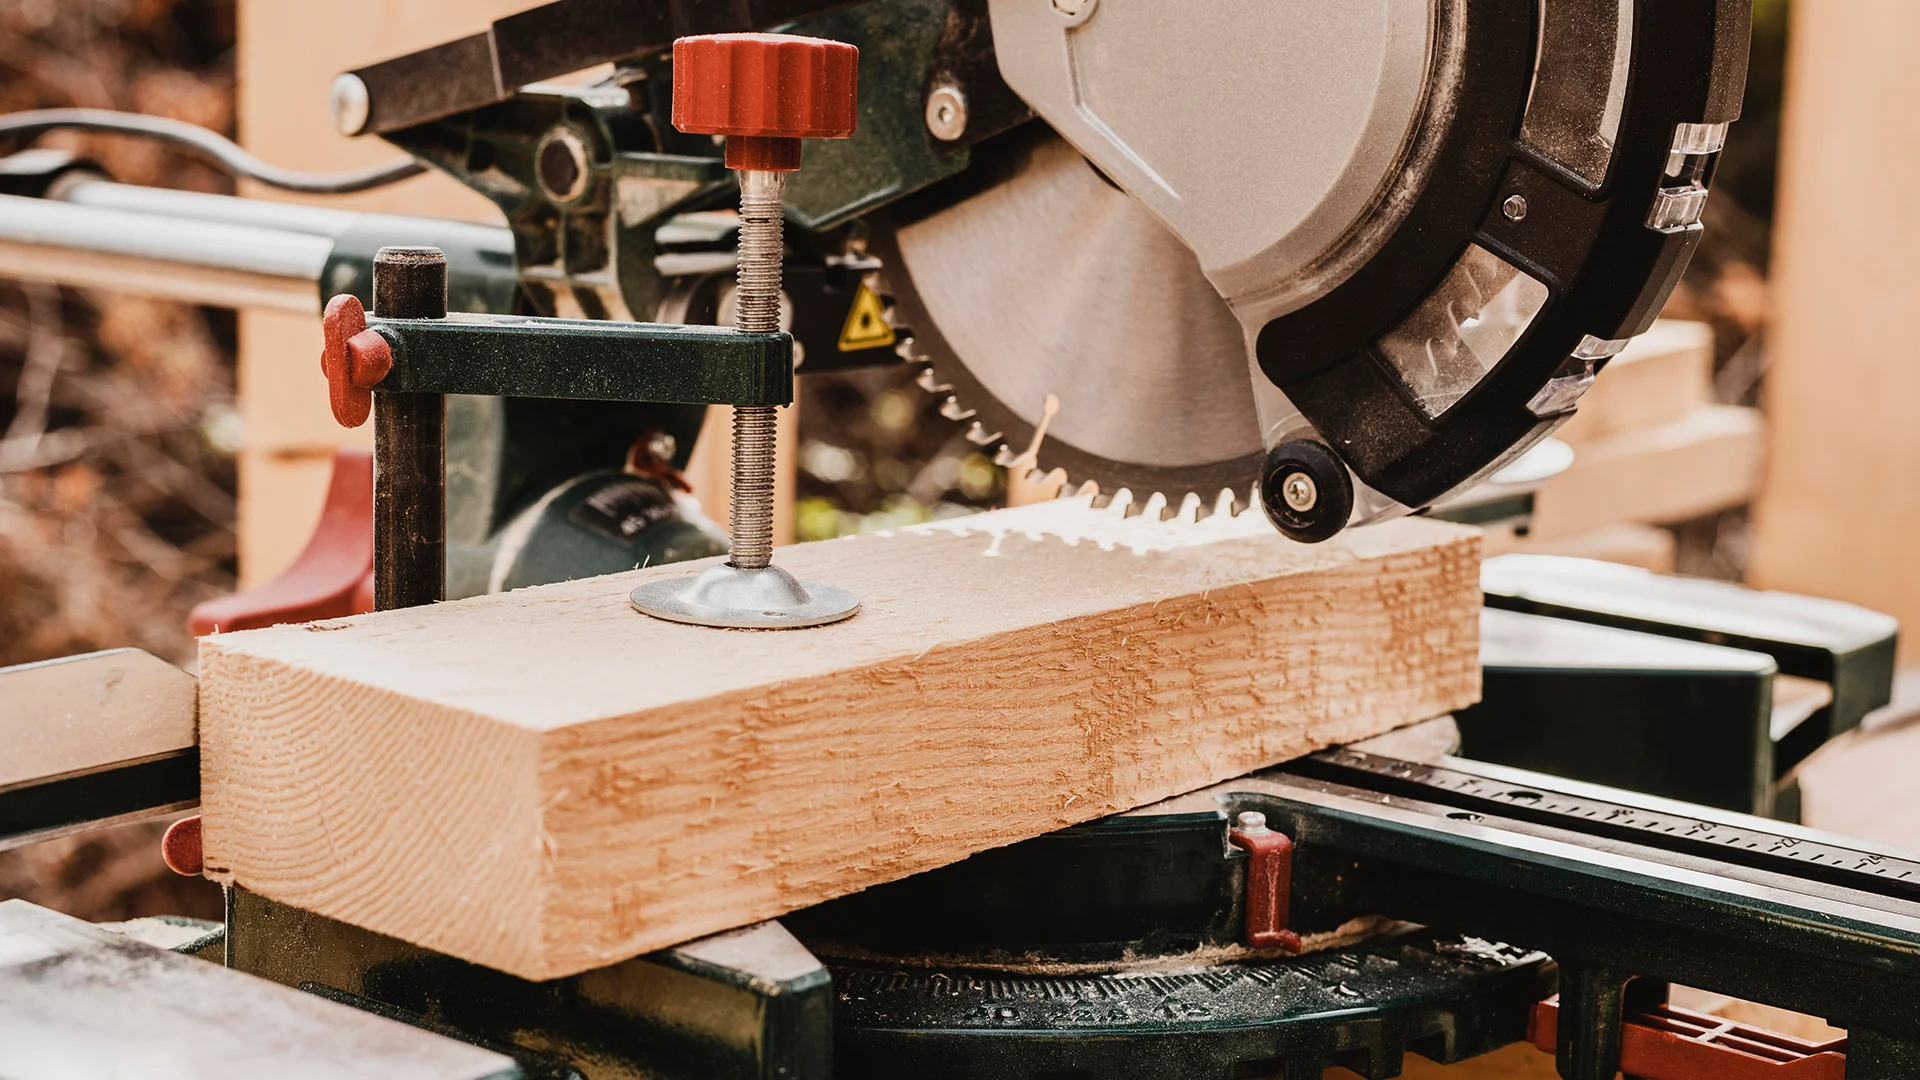
- Miter Cut vs. Bevel Cut – A miter cut is an angled cut across the face of the wood (typically 45 degrees for corners, like in picture frames). A bevel cut is an angled cut through the thickness of the wood (used for decorative edges or joinery).
- Dado & Rabbet – A dado is a square or rectangular groove cut across the grain of the wood, often used for shelving. A rabbet is a notch cut along the edge of a board, usually for joinery (e.g., fitting a back panel into a cabinet).
- Rip Cut vs. Crosscut – A rip cut is made along the grain of the wood, while a crosscut goes against the grain. Rip cuts require a rip saw or table saw, while crosscuts are often done with a miter saw or handsaw.
- Resawing – Cutting a thick board into thinner boards by slicing it along its width. This is commonly done on a bandsaw to create veneer or bookmatched panels.
- Chamfer vs. Roundover – A chamfer is a beveled edge (cut at an angle) to soften corners. A roundover creates a smooth, curved edge using a router bit.
- Taper Cut – A gradual reduction in thickness or width along the length of the wood, often used for table legs or decorative elements.
- Relief Cut – A small cut made before a large cut to prevent wood from binding or splintering, often used when cutting curves with a jigsaw or bandsaw.
- Scroll Cut – A decorative cut made with a scroll saw for intricate curves and details, often seen in furniture and woodworking art.
- Coping Cut – A cut made with a coping saw to fit trim or molding pieces together at inside corners. This technique is often used for baseboards and crown molding.
- Plunge Cut – A cut that starts in the middle of a board rather than the edge, usually done with a plunge router or circular saw.
- Scoring Cut – A light cut made before a deeper cut to reduce tear-out and create a cleaner edge. Often used in plywood cutting to prevent splintering.
- Rip Fence – A guide attached to a table saw that ensures straight and consistent rip cuts.
- Zero Clearance Insert – A custom-made insert that fits around a saw blade, minimizing the gap to reduce tear-out and improve accuracy.
- Relief Kerf – A shallow cut made along the backside of a board to relieve tension and prevent splitting or warping when bending wood.
- Cove Cut – A concave groove or indentation, often made using a router or a table saw with a cove-cutting jig.
- Template Cutting – Using a pattern or template to guide a router or saw for consistent and repeatable shapes.
Joinery Terms: What Is the Difference Between Joinery and Carpentry?
Carpentry and joinery are closely related but serve different purposes in woodworking. Carpentry involves large-scale structural work, such as framing houses, building roofs, and constructing decks. It typically requires power tools like circular saws and nail guns for speed and efficiency. Joinery, on the other hand, is all about precision and craftsmanship. It focuses on creating strong, detailed connections in furniture, cabinetry, and fine woodworking projects, often using hand tools like chisels and hand planes.
Below are some of the most common and essential joinery techniques used in woodworking:
Mortise & Tenon –
- A mortise is a rectangular hole cut into one piece of wood, while a tenon is a corresponding projection on another piece that fits snugly into the mortise.
- Commonly used in furniture making, doors, and structural frameworks.
- Can be reinforced with glue, dowels, or pegs for extra strength.
- Variations:
- Through Mortise & Tenon – The tenon passes completely through the mortise and is visible on the other side.
- Blind Mortise & Tenon – The tenon is concealed within the joint for a seamless appearance.
- Haunched Mortise & Tenon – Used for added strength when connecting rails to legs (common in tables and chairs).
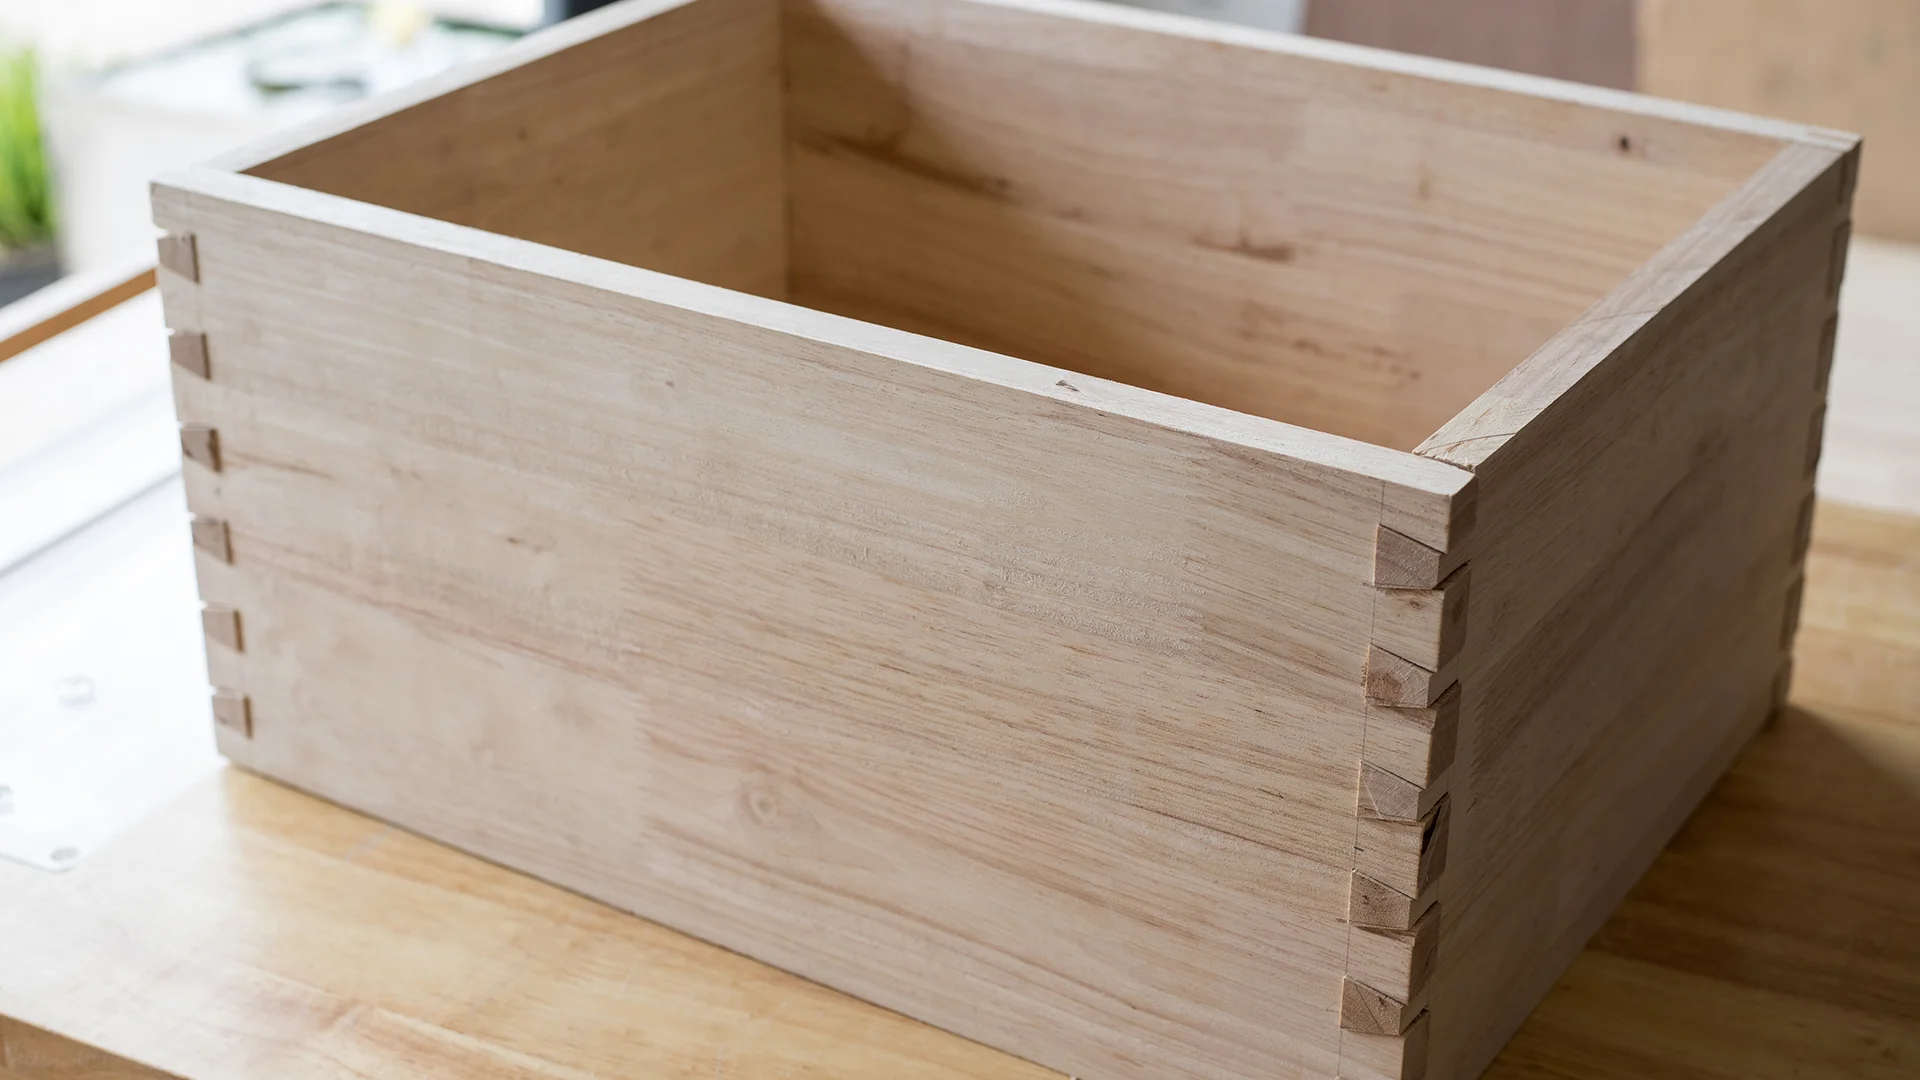
Dovetail Joint –
- A series of interlocking, wedge-shaped cuts (called tails and pins) that create a super-strong bond without the need for nails or screws.
- Ideal for drawer construction and box-making, as the joint resists pulling apart.
- Types of Dovetail Joints:
- Through Dovetail – The classic visible dovetail where both sides show the interlocking pattern.
- Half-Blind Dovetail – One side is hidden, commonly used for drawer fronts.
- Sliding Dovetail – A dovetail groove cut into one piece with a matching tongue sliding into it, often used in shelves and casework.
Lap Joint vs. Pocket Hole Joinery –
-
- Lap Joint:
- Involves two pieces of wood overlapping at their ends or along their length.
- Simple but strong and often reinforced with glue or screws.
- Types of Lap Joints:
- Half-Lap Joint – Each piece has half its thickness removed so they fit flush.
- Cross-Lap Joint – Two pieces intersect at right angles.
- Mitered Lap Joint – The ends are cut at 45-degree angles for a cleaner look.
- Pocket Hole Joinery:
- Uses an angled hole drilled into one piece of wood to allow for a screw to attach it to another.
- A fast, easy way to assemble furniture without visible fasteners.
- Often reinforced with glue for added strength.
- Lap Joint:
Tools Every Woodworker Should Know: What Tools Do Woodworkers Use?
Hand Tools
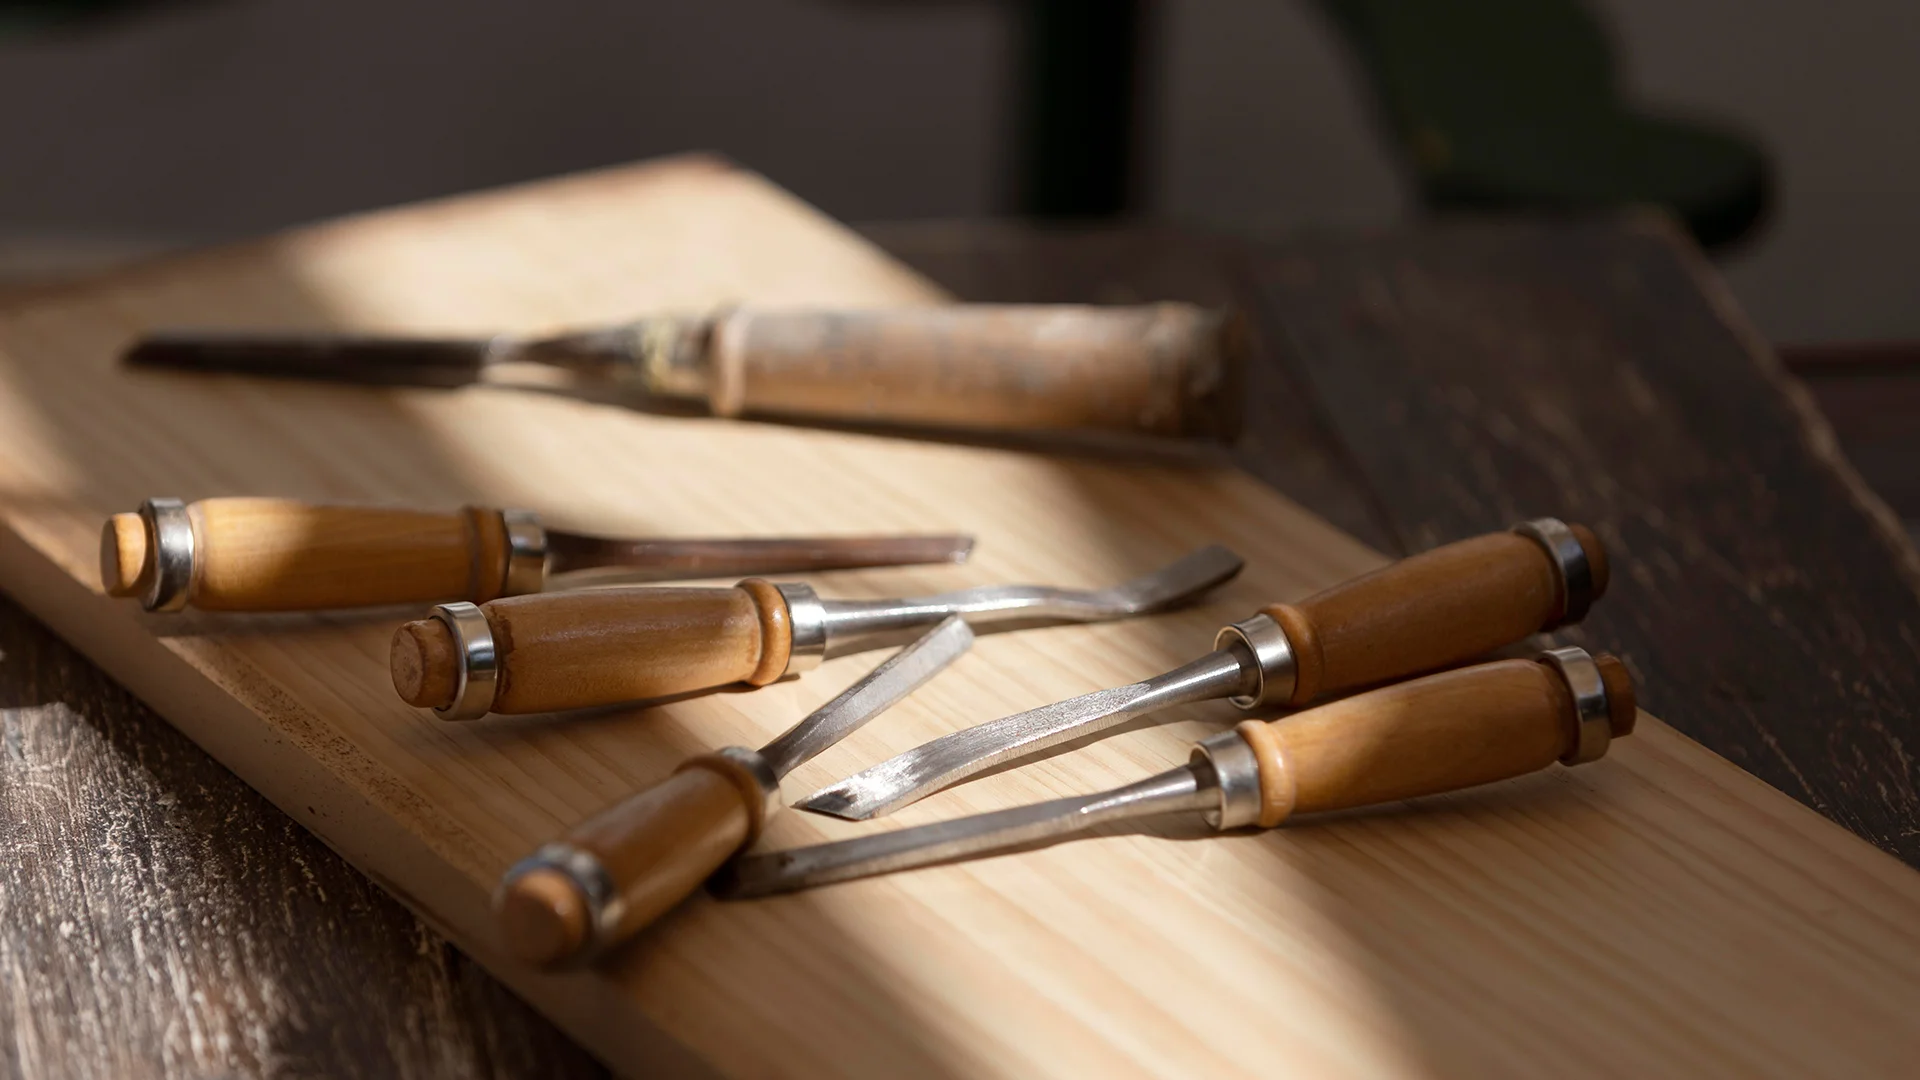
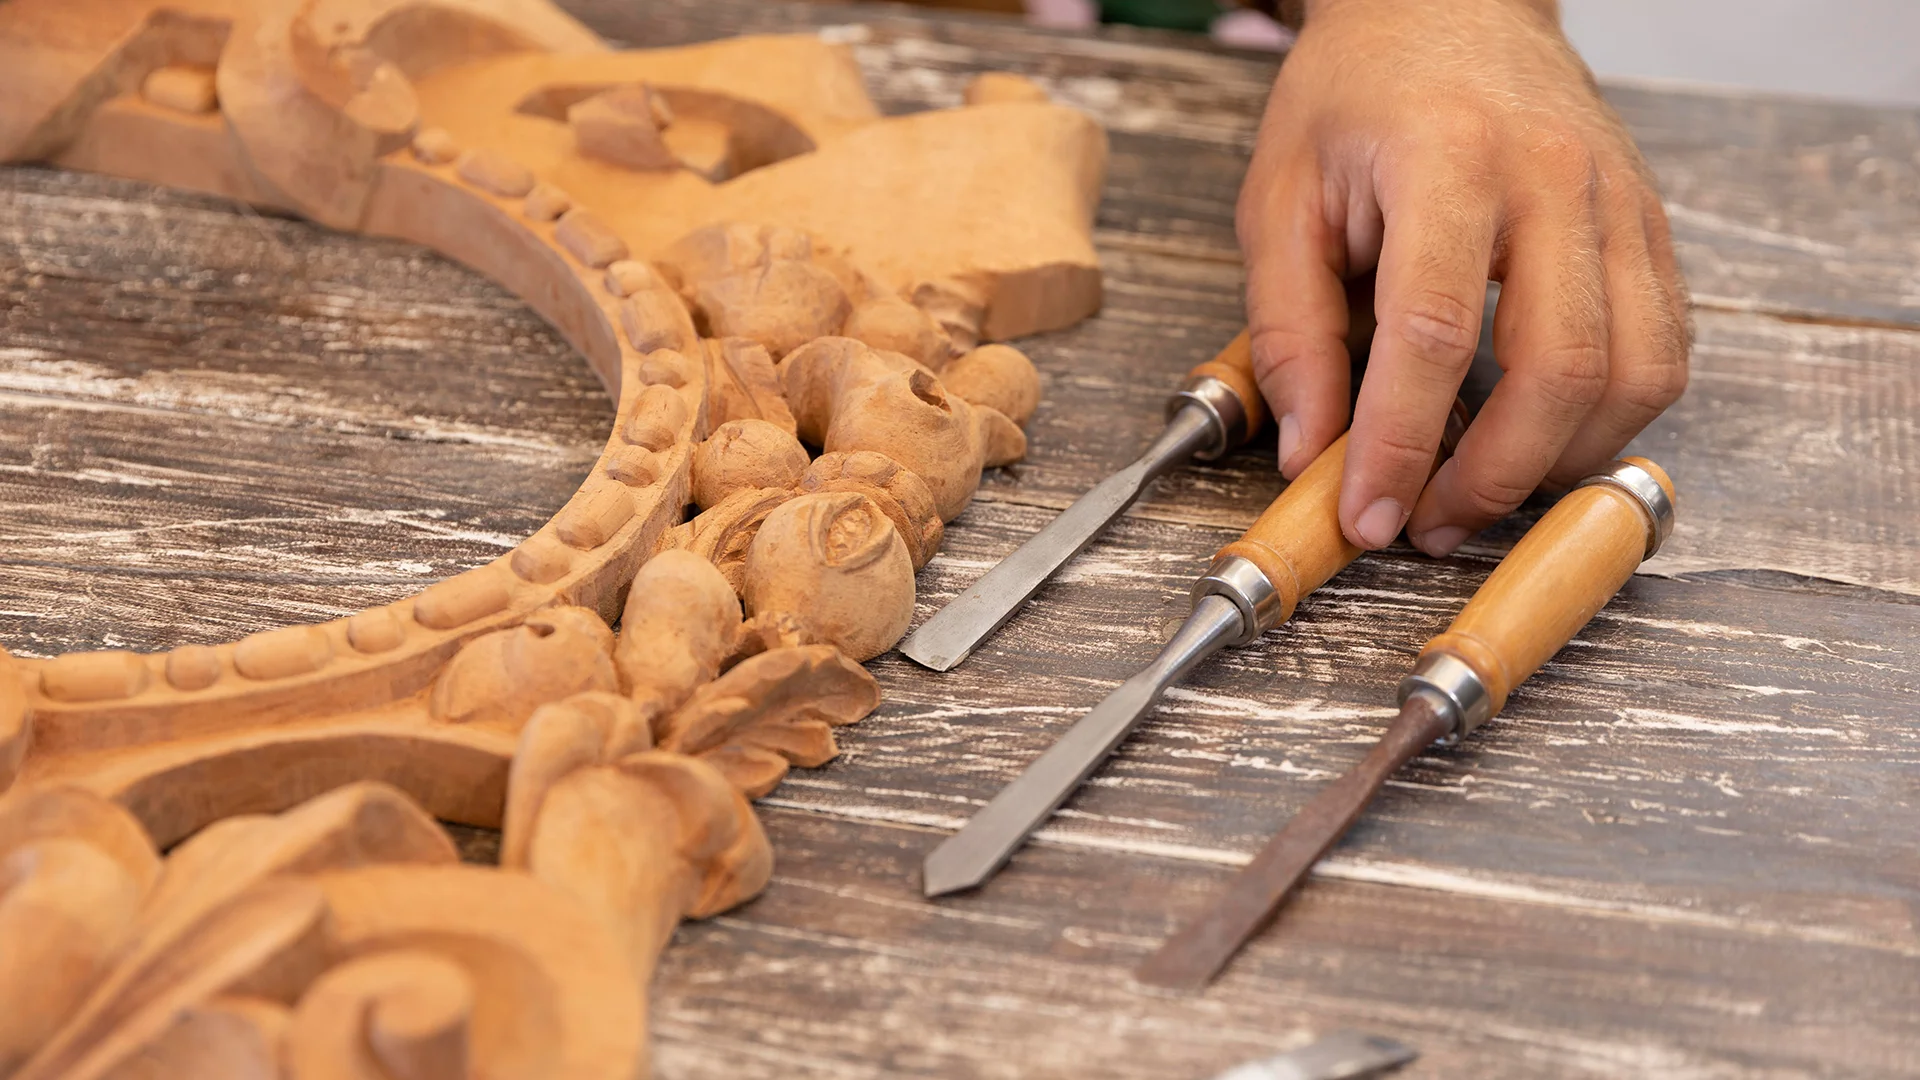
- Chisels – Used for carving, joinery, and fine detail work. Available in different types:
- Bench Chisels – The most common for general woodworking.
- Mortise Chisels – Designed for chopping deep mortises.
- Paring Chisels – Thinner and used for precision shaping and trimming.
- Hand Planes – Used to smooth, flatten, and shape wood surfaces.
- Jack Plane – A versatile, all-purpose plane for rough flattening.
- Smoothing Plane – Leaves a fine, polished finish on wood surfaces.
- Block Plane – Small and handy for trimming end grain and chamfering edges.
- Mallets – Used to strike chisels and assemble joinery without damaging wood.
- Wooden Mallet – Gentle on chisels and workpieces.
- Rubber Mallet – Used for assembling joints without leaving marks.
- Dead Blow Mallet – Prevents bouncing and delivers controlled force.
- Marking Gauge – Helps create precise layout lines for cutting, joinery, and mortise layout.
- Handsaw – A traditional cutting tool for wood.
- Rip Saw – Cuts along the grain.
- Crosscut Saw – Cuts across the grain.
- Backsaw (Tenon Saw & Dovetail Saw) – Has a reinforced spine for precision joinery.
- Coping Saw – Used for cutting intricate shapes, curves, and fine detail work.
- Spokeshave – A small, handheld tool used for shaping curved surfaces, like chair legs and tool handles.
- Rasps & Files – Used for shaping wood, smoothing rough edges, and refining details.
- Cabinet Rasp – Removes material quickly.
- Half-Round File – Good for smoothing curves and flat areas
- Clamps – Essential for holding workpieces securely while cutting, gluing, or assembling.
- Bar Clamps – Great for glue-ups and large pieces.
- F-Clamps – Quick-adjust clamps for general use.
- Spring Clamps – Handy for light-duty holding.
Power Tools
- Table Saw – A must-have for cutting large sheets and boards with precision.
- Rip Fence – Helps guide wood for straight rip cuts.
- Miter Gauge – Used for precise angled cuts.
- Router – Shapes edges, cuts joinery, and creates decorative profiles.
- Plunge Router – Allows controlled depth adjustments.
- Fixed-Base Router – Best for consistent edge profiling.
- Drill Press – Ensures straight, even holes with adjustable depth control.
- Forstner Bits – Used for clean, flat-bottom holes.
- Spade Bits – Good for rough drilling in softwoods.
- Jointer – Straightens edges of boards for perfect glue joints.
- Bandsaw – Great for curved cuts, resawing boards, and making deep rip cuts.
- Miter Saw – Used for quick and precise crosscuts and angled cuts. Ideal for furniture and framing.
- Circular Saw – A handheld saw for quick and rough cuts. Often used in construction but can be adapted for woodworking.
- Jigsaw – Best for cutting curves and intricate designs in wood.
- Oscillating Spindle Sander – Used for smoothing curved and irregular edges.
- Belt Sander – Removes material quickly and smooths large surfaces.
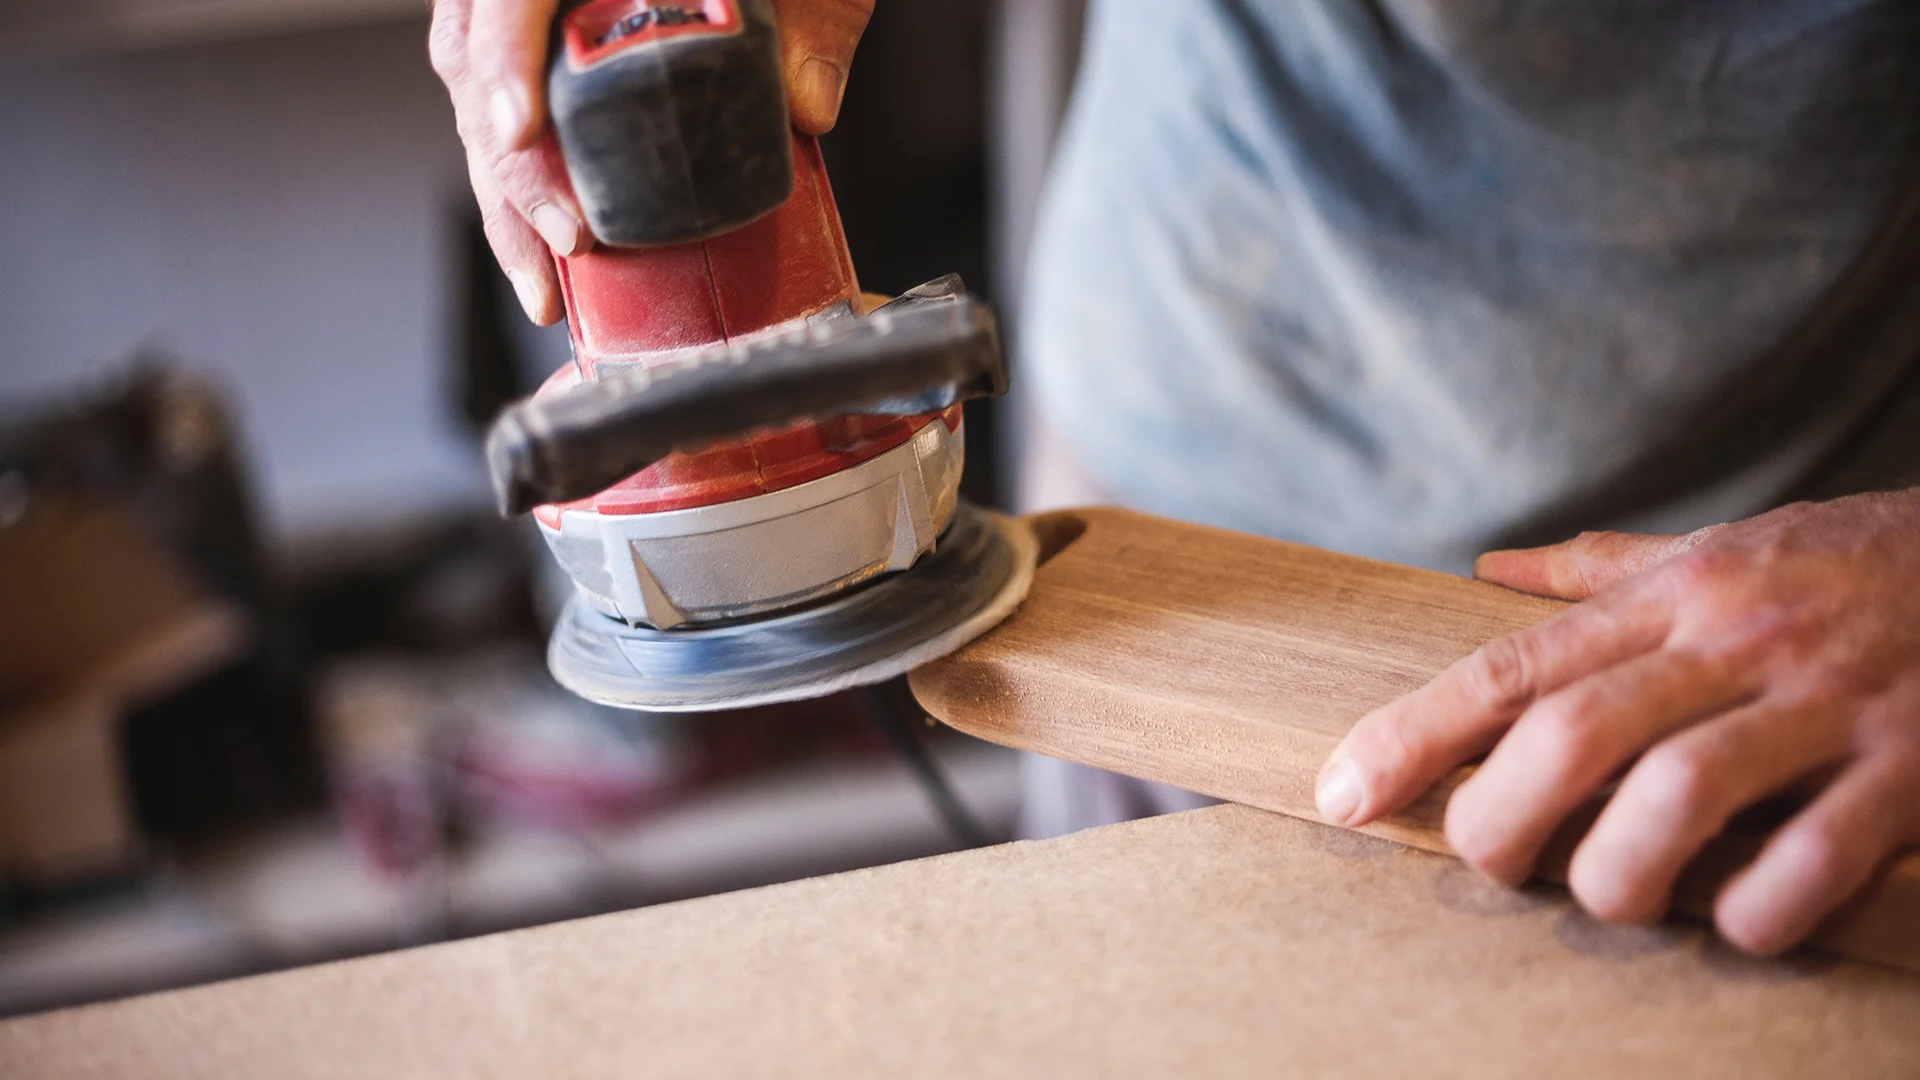
- Random Orbital Sander – A must-have for finishing work, reducing swirl marks compared to a standard disc sander.
- Scroll Saw – A specialty tool for intricate, detailed cuts in fine woodworking.
- Track Saw – A guided saw that allows for straight, clean cuts in large sheets of plywood.
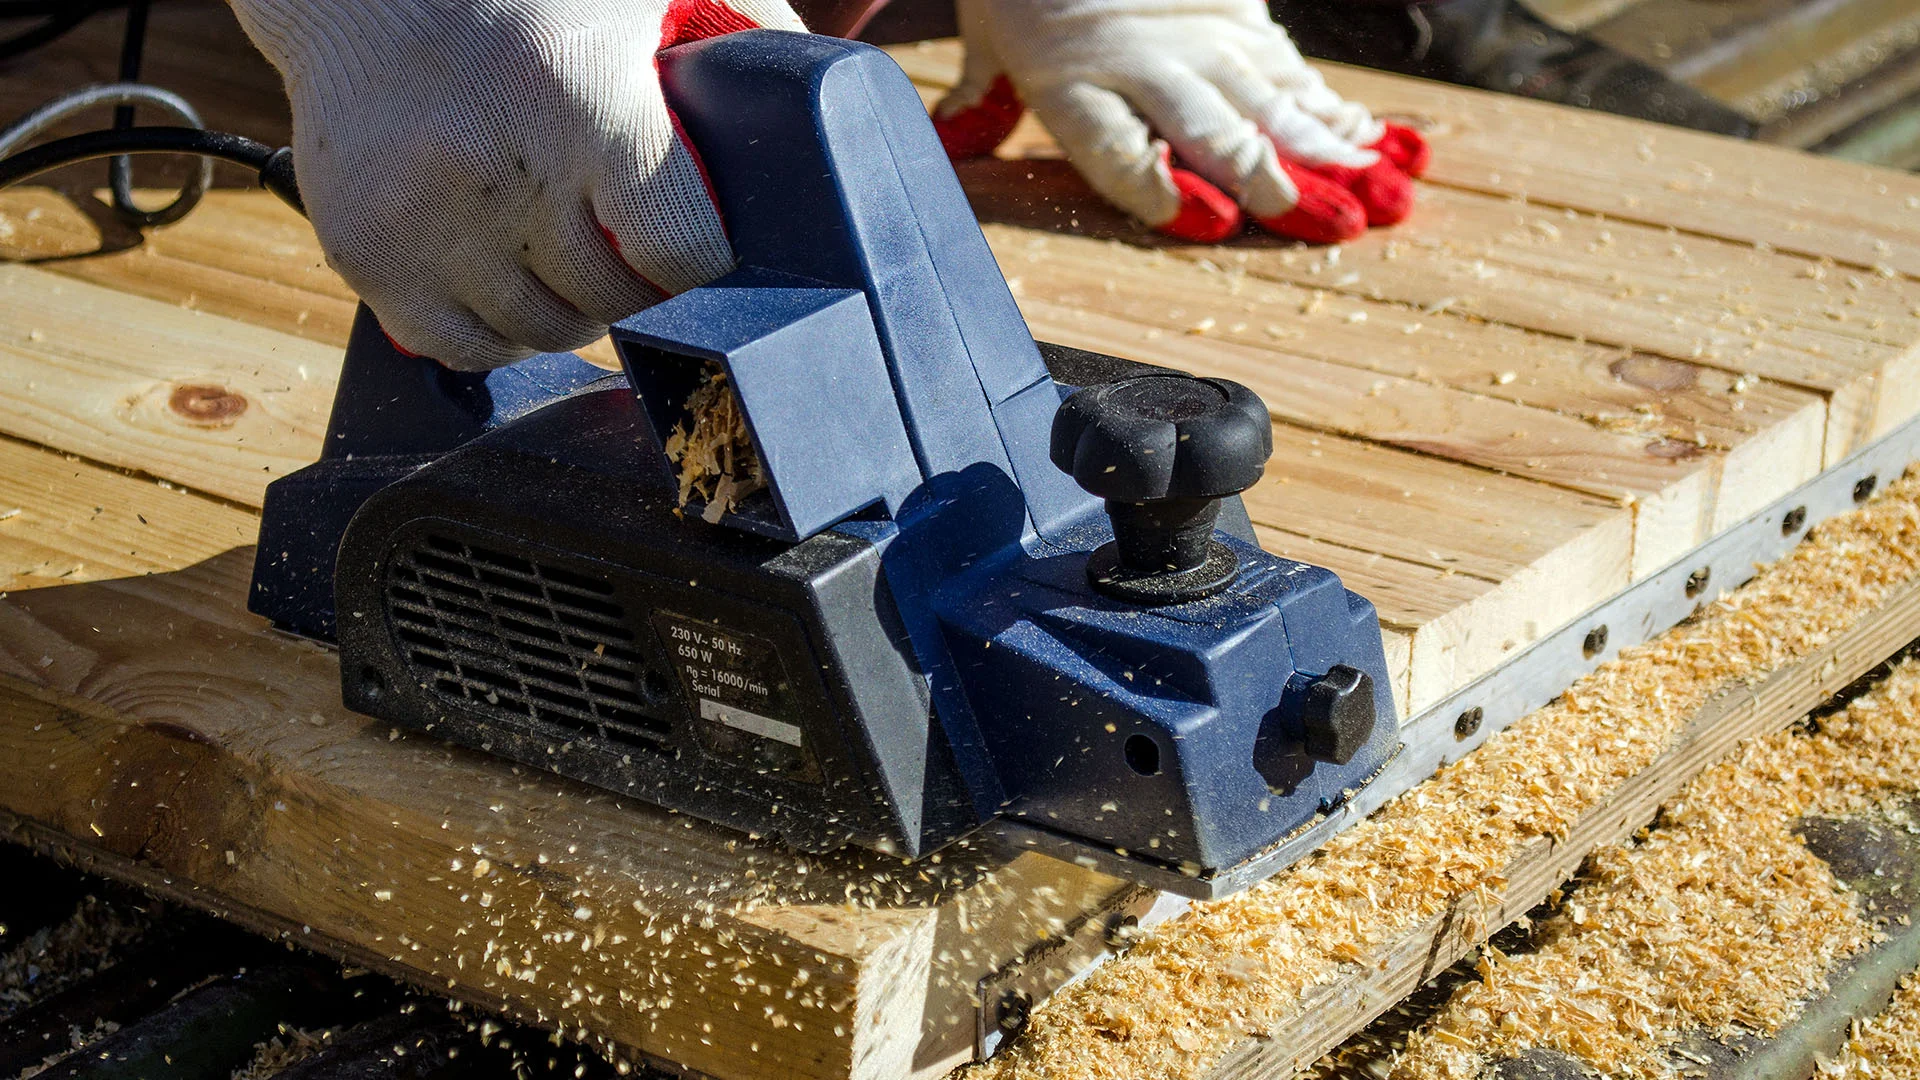
Planing vs. Sanding
- Planing – Uses a hand plane or power planer to remove material quickly, flatten surfaces, and smooth rough wood. Planing leaves a clean surface that requires minimal sanding.
- Sanding – Smooths wood surfaces and removes tool marks. Different grits are used for various purposes:
- Coarse Grit (40-80 grit) – Removes rough imperfections and old finishes.
- Medium Grit (100-150 grit) – Smooths the surface and prepares for finishing.
- Fine Grit (180-220 grit) – Creates a polished surface before applying finish.
- Extra Fine Grit (320+ grit) – Used for ultra-smooth finishes, especially between coats of finish.
- Wet Sanding – Uses water or mineral oil with ultra-fine sandpaper to achieve a glass-smooth finish, often used for high-gloss finishes.
Measuring & Layout Tools
- Tape Measure – A must-have for measuring boards, furniture dimensions, and room layouts.
- Combination Square – Ensures perfect 90-degree and 45-degree angles for cuts and layout lines.
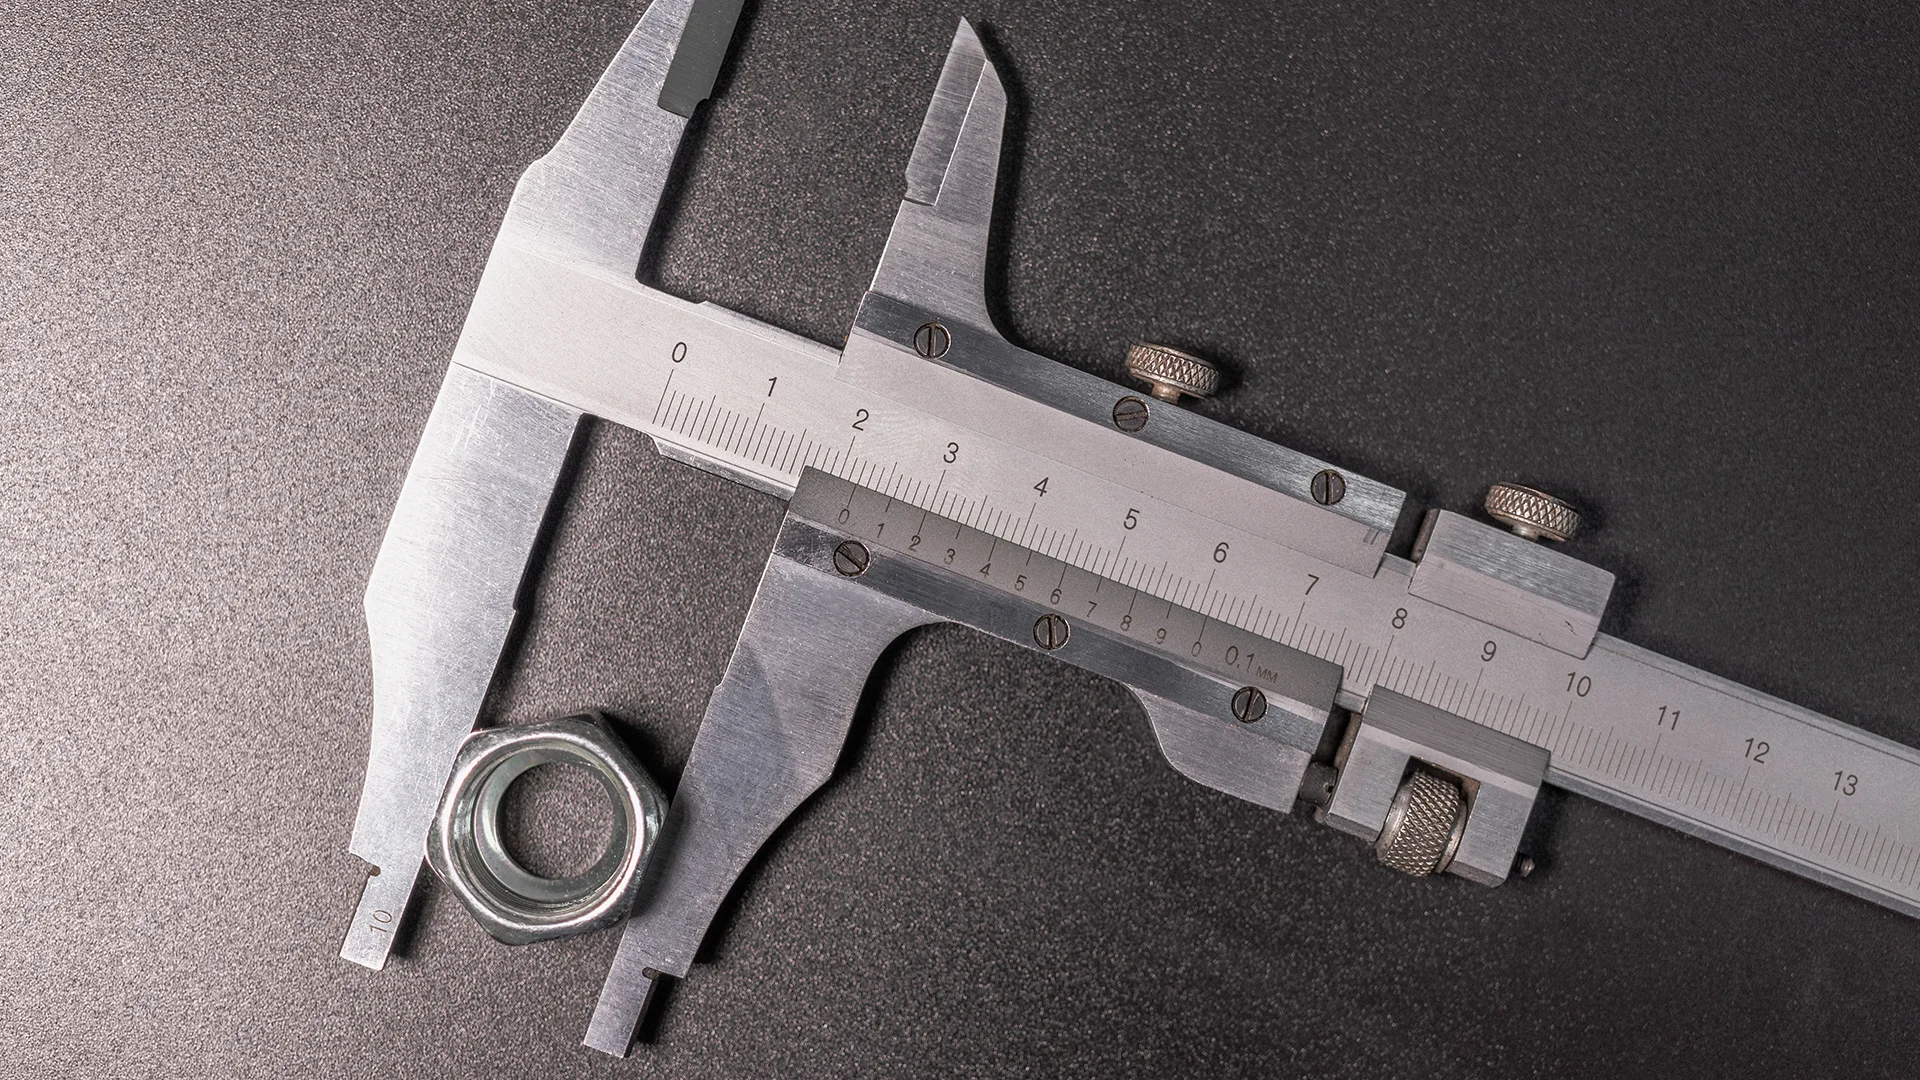
- Calipers – Used for ultra-precise measurements, especially when fitting joints or checking material thickness.
- Speed Square – A small triangular tool for quick 90-degree and 45-degree markings, commonly used for framing.
- Bevel Gauge (Sliding T-Bevel) – Used to measure and transfer angles when working with complex joints.
- Framing Square – Larger than a combination square, used for marking right angles and checking squareness.
- Try Square – A precision tool used for checking 90-degree angles on joints and edges.
- Marking Knife – Creates fine, accurate layout lines that are more precise than a pencil.
- Compass & Dividers – Used for marking circles, arcs, and evenly spacing elements in a project.
- Winding Sticks – Helps detect and correct twisted boards when flattening lumber.
- Plumb Bob – A simple tool for checking vertical alignment, often used in cabinetry.
- Feeler Gauge – Measures tiny gaps between pieces of wood, useful for fine joinery.

Woodworking Finishes & Techniques
Staining vs. Painting
- Staining – Enhances the wood’s natural grain by soaking into the fibers. Stains come in various tones, from light to dark, and can be water-based, oil-based, or gel-based.
- Water-Based Stains – Dry quickly, easy to clean, but may raise the grain.
- Oil-Based Stains – Provide a deeper, richer color and longer working time.
- Gel Stains – Thicker consistency, making them ideal for vertical surfaces and uneven woods like pine.
- Painting – Completely covers the wood grain, providing a smooth, solid color.
- Latex Paint – Water-based and easy to clean but not as durable as oil-based options.
- Oil-Based Paint – Offers better durability but takes longer to dry and requires solvents for cleanup.
- Milk Paint & Chalk Paint – Popular for rustic and vintage finishes, with a soft, matte look.
Types of Wood Finishes
1. Penetrating Finishes (Absorb into the wood for a natural look)
- Danish Oil – A blend of oil and varnish that enhances the grain while providing light protection. Great for furniture and woodturning.
- Tung Oil – A 100% natural oil that hardens as it dries, providing a durable, water-resistant finish. Used for cutting boards, furniture, and fine woodworking.
- Linseed Oil (Boiled & Raw) –
- Raw Linseed Oil – Slow-drying but provides deep penetration.
- Boiled Linseed Oil (BLO) – Dries faster due to added drying agents and enhances wood grain beautifully.
2. Surface Finishes (Create a protective layer on top of the wood)
- Shellac – A natural resin that dries quickly and provides a warm, vintage look. Often used on antique furniture and musical instruments.
- Polyurethane – One of the most durable finishes, available in different sheens:
- Oil-Based Polyurethane – Provides a rich, amber tone but takes longer to dry.
- Water-Based Polyurethane – Dries clear and is less odorous, ideal for light-colored woods.
- Lacquer – A high-gloss, fast-drying finish often used in commercial furniture and cabinetry. Requires spray application for best results.
- Varnish – Offers excellent protection against moisture and UV rays, making it ideal for outdoor furniture and marine applications.
3. Wax Finishes (Soft, subtle protection and enhancement)
- Paste Wax – Provides a soft, low-sheen finish that enhances natural beauty. Best used as a final topcoat over another finish.
- Beeswax & Carnauba Wax – Natural waxes that add a smooth, buttery feel and slight water resistance.
Additional Finishing Techniques
- French Polishing – A traditional hand-rubbed technique using shellac and alcohol to create a deep, glossy finish. Commonly used for fine furniture and musical instruments.
- Burnishing – A method of polishing wood using friction and a hard surface (like a bone or cloth) to create a sheen without chemicals.
- Distressing & Antiquing – Techniques like wire brushing, denting, and glazing to create an aged, weathered look.
- Bleaching – Lightens wood by removing natural color and staining. Useful for creating a modern, neutral-toned appearance.
- Grain Filling – Used on open-grained woods (oak, mahogany) to create a perfectly smooth finish by filling tiny pores before finishing.
- Ebonizing – A process of darkening wood to a deep black color using a chemical reaction (vinegar and steel wool method) or black stain.
- Wood Burning (Pyrography) – Using a heated tool to create artistic designs on wood surfaces.

Conclusion
Now that you’re armed with essential woodworking terminology, you’re ready to take your craft to the next level. Whether you’re building furniture, tackling DIY projects, or simply trying to understand what are common woodworking terms and their meanings, this glossary will help you speak the language of the trade with confidence. So, what’s next? Pick up your tools, start your next project, and put these terms into practice. Happy woodworking.
Recent Post
Feb. 20, 2025
Wood for Woodworking: Expert Tips to Maximize Quality and Craftsmanship
Feb. 11, 2025
The Ultimate Glossary of Woodworking Terms to Level Up Your Craft

Jan. 23, 2025
Woodworking Logos: The Do’s and Don’ts for a Timeless Design
Jan. 14, 2025
Woodworking Business Names That Sell: Secrets of Branding Pro

Dec. 17, 2024