571-323-3636
Our Blog
Wood for Woodworking: Expert Tips to Maximize Quality and Craftsmanship
February 20, 2025
/
Woodworking is both an art and a science, and if you’ve ever tried to build something—whether a simple birdhouse or a grand dining table—you know that the quality of your wood makes all the difference. The right wood can make your project smooth and seamless, while the wrong choice can turn your work into a splinter-filled nightmare.
But with so many options out there, how do you know which wood to choose? What’s the best wood for beginners in woodworking? How do you tell if a piece of wood is high quality? If you’ve ever asked yourself these questions, you’re in the right place.
Let’s break it all down, so your next woodworking project is a masterpiece rather than a mistake.
Understanding the Basics: Woodworking Types of Wood
Before you start carving, cutting, or building, it helps to understand the different types of wood for woodworking. Generally, wood falls into two categories: softwood and hardwood.
Softwood vs. Hardwood: What’s the Difference?
Despite the names, hardness isn’t always what separates these two. The difference comes from the type of tree:
- Softwoods come from coniferous trees (evergreens with needles and cones), such as pine, cedar, and fir. They grow faster and are generally more affordable.
- Hardwoods come from deciduous trees (trees that lose their leaves in winter), such as oak, maple, and walnut. These woods tend to be denser, more durable, and often more expensive.
Best Uses:
- Softwood – Great for furniture, construction, and general projects.
- Hardwood – Ideal for fine furniture, flooring, and projects requiring durability.
If you’re wondering about a classic matchup—pine vs. oak for woodworking—pine is easier to work with and budget-friendly, while oak is stronger and has a more premium look.
Choosing the Best Wood for Your Project
What is the Best Wood for Beginners in Woodworking?
If you’re just starting out, the last thing you need is a frustrating wood that splits easily or requires heavy-duty tools. Instead, go with beginner-friendly woods like:
- Pine – Soft, easy to cut, and inexpensive.
- Cedar – Slightly more durable but still easy to work with.
- Basswood – Perfect for carving and detail work.
Avoid hardwoods like oak or maple at first—they’re tough to cut and require more precise tools.
How to Select Wood for Small Woodworking Projects
For small projects like jewelry boxes, picture frames, or decorative carvings, consider:
- Cherry – Smooth grain and rich color.
- Walnut – Dark, durable, and great for detailed work.
- Maple – Hard but fine-grained, perfect for intricate designs.
Pro Tip: Thicker isn’t always better—choose wood based on your project’s scale, weight, and strength needs.
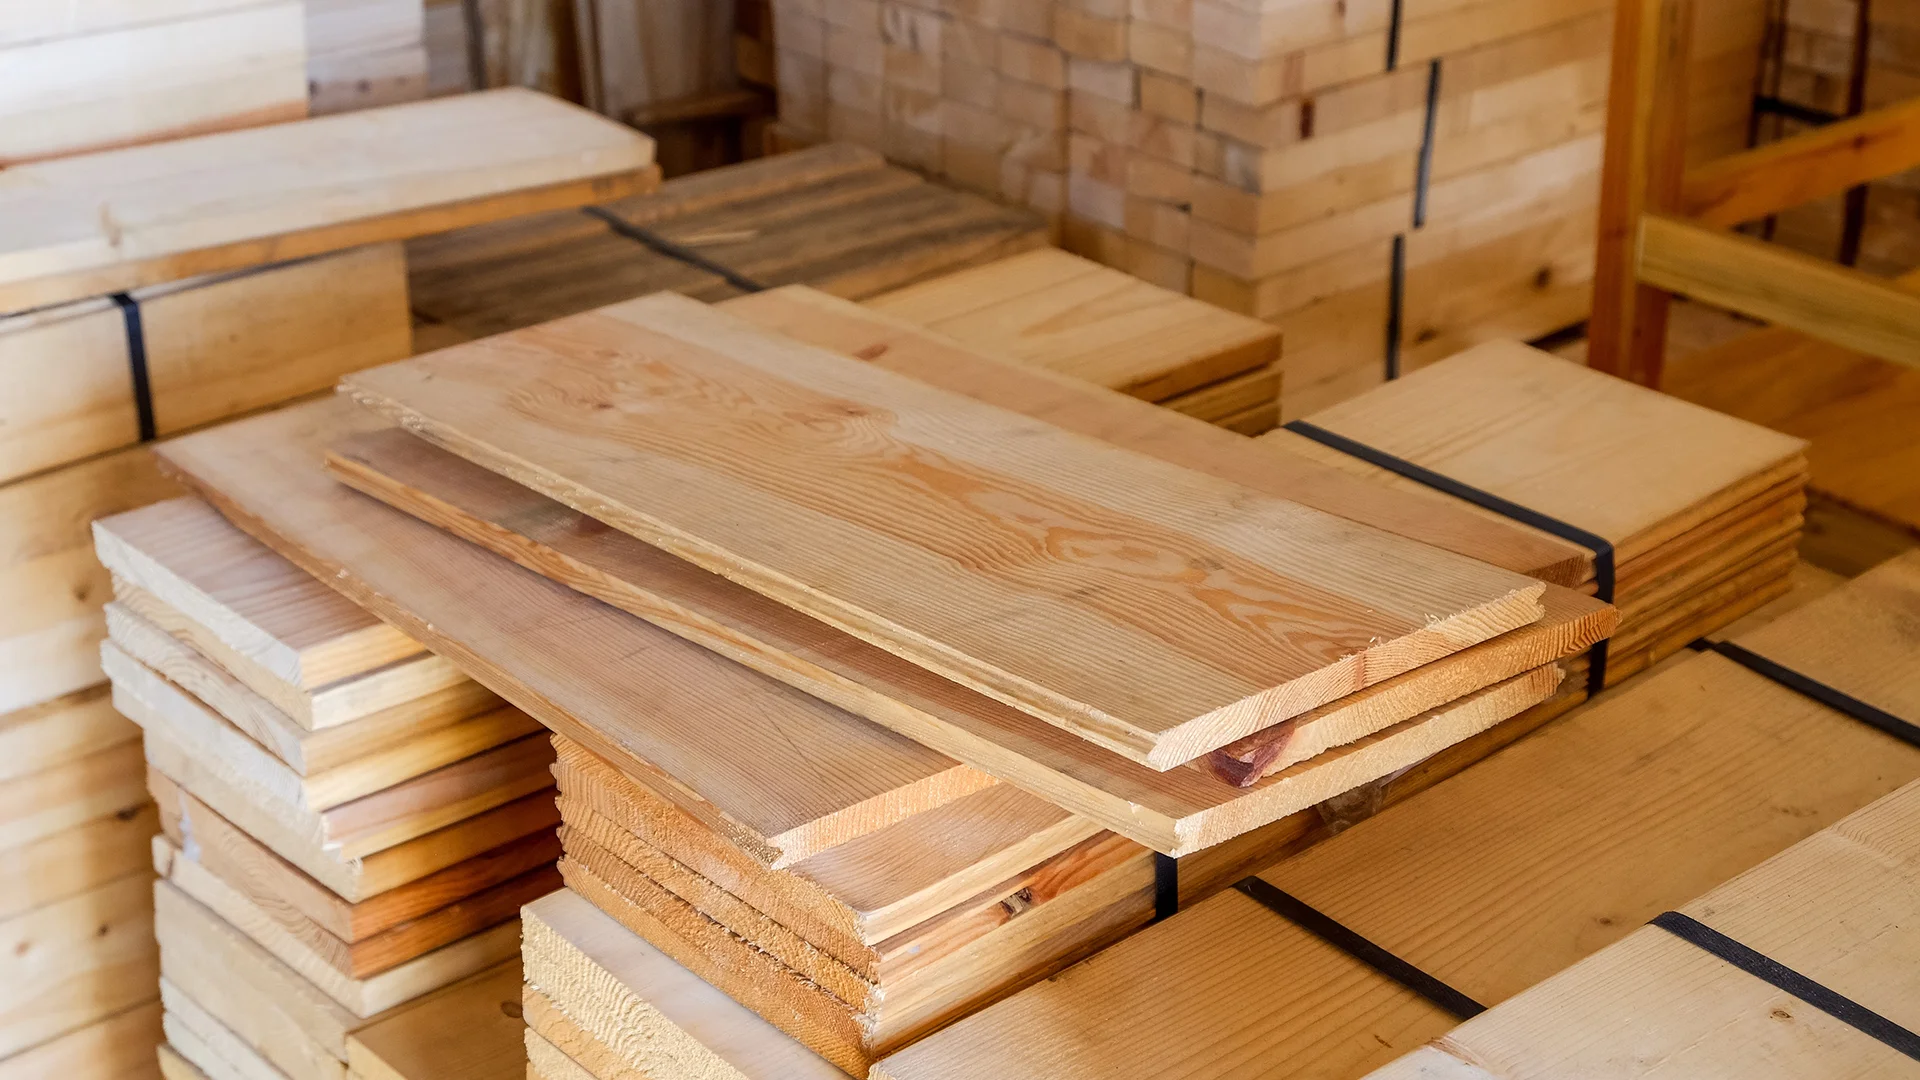
Quality Matters: How to Identify and Select the Best Wood
Picking up a random plank from the hardware store? Hold on! Wood quality can vary significantly, and selecting high-quality materials is crucial for avoiding headaches and ensuring your woodworking project is a success. Choosing the right wood can be the difference between a masterpiece and a frustrating mess.
How to Identify Quality Wood for Woodworking
When selecting wood for your project, carefully inspect each piece. Here’s what to look for:
- Grain – Straight grain is generally preferred as it minimizes warping. However, understand that other grain patterns (like quarter-sawn or flat-sawn) can be desirable for specific aesthetic effects. Avoid wood with excessive twisting or uneven grain, as this significantly increases the risk of warping and cracking.
- Knots – Knots are a natural part of wood, but too many, especially large or loose (dead) knots, can weaken the wood and make it more difficult to work with. Tight knots are generally less problematic. Aim for wood with minimal, small, and tight knots.
- Moisture Content – Proper moisture content is critical. Wood that’s too dry can crack, while wood with excessive moisture is prone to warping and movement as it dries. Use a moisture meter to check the moisture content. For most interior woodworking projects, aim for a moisture content between 6-8%.
- Color – Uniform color is often a sign of consistent quality. Significant discoloration can indicate issues like mineral streaks, fungal staining, or improper drying. While some discoloration may be acceptable, it’s important to understand the cause and its potential impact on your project.
- Visual Inspection – Don’t just grab the first board you see. Take the time to visually inspect multiple boards. Look at both sides and the edges. This will help you identify any hidden defects.
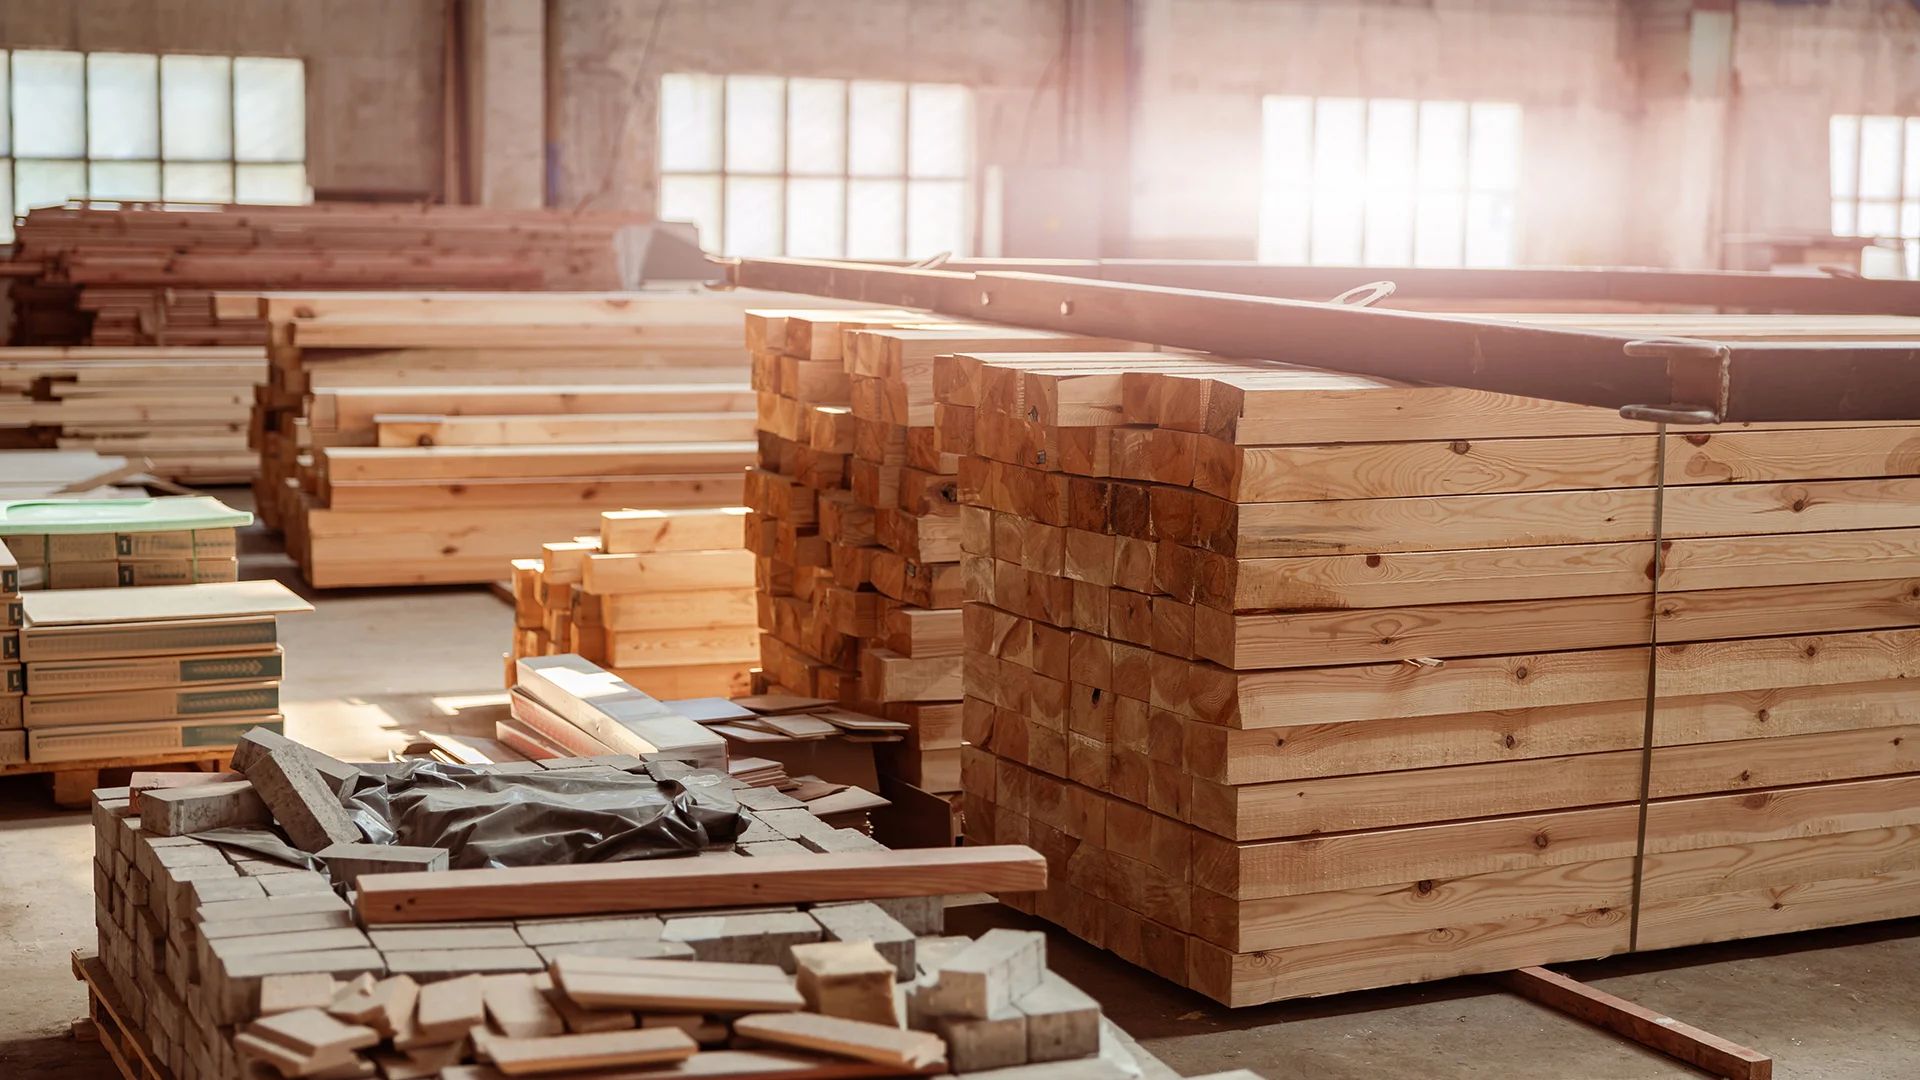
How is Wood Graded for Woodworking?
Wood is often graded based on its appearance and structural integrity. While grading systems can vary depending on the species and lumber association, here’s a general overview:
- Select Grade – This is the highest grade, with minimal knots and the fewest imperfections. Select grade wood is ideal for fine furniture and other high-quality projects.
- Common Grade – This grade allows for more knots and variations in appearance. It’s still usable for many woodworking projects, but you’ll need to be more selective when choosing boards.
- Construction Grade – This grade is typically used for framing and other structural applications where appearance is less important. It’s generally not suitable for fine woodworking.
For fine furniture, decorative pieces, or any project where quality is paramount, always choose select or higher common grade wood. Remember that hardwood and softwood grading systems are different, so research the specific grading rules for the wood you’re using. Consult your lumber supplier or look for information from lumber associations to learn more about specific wood grades.
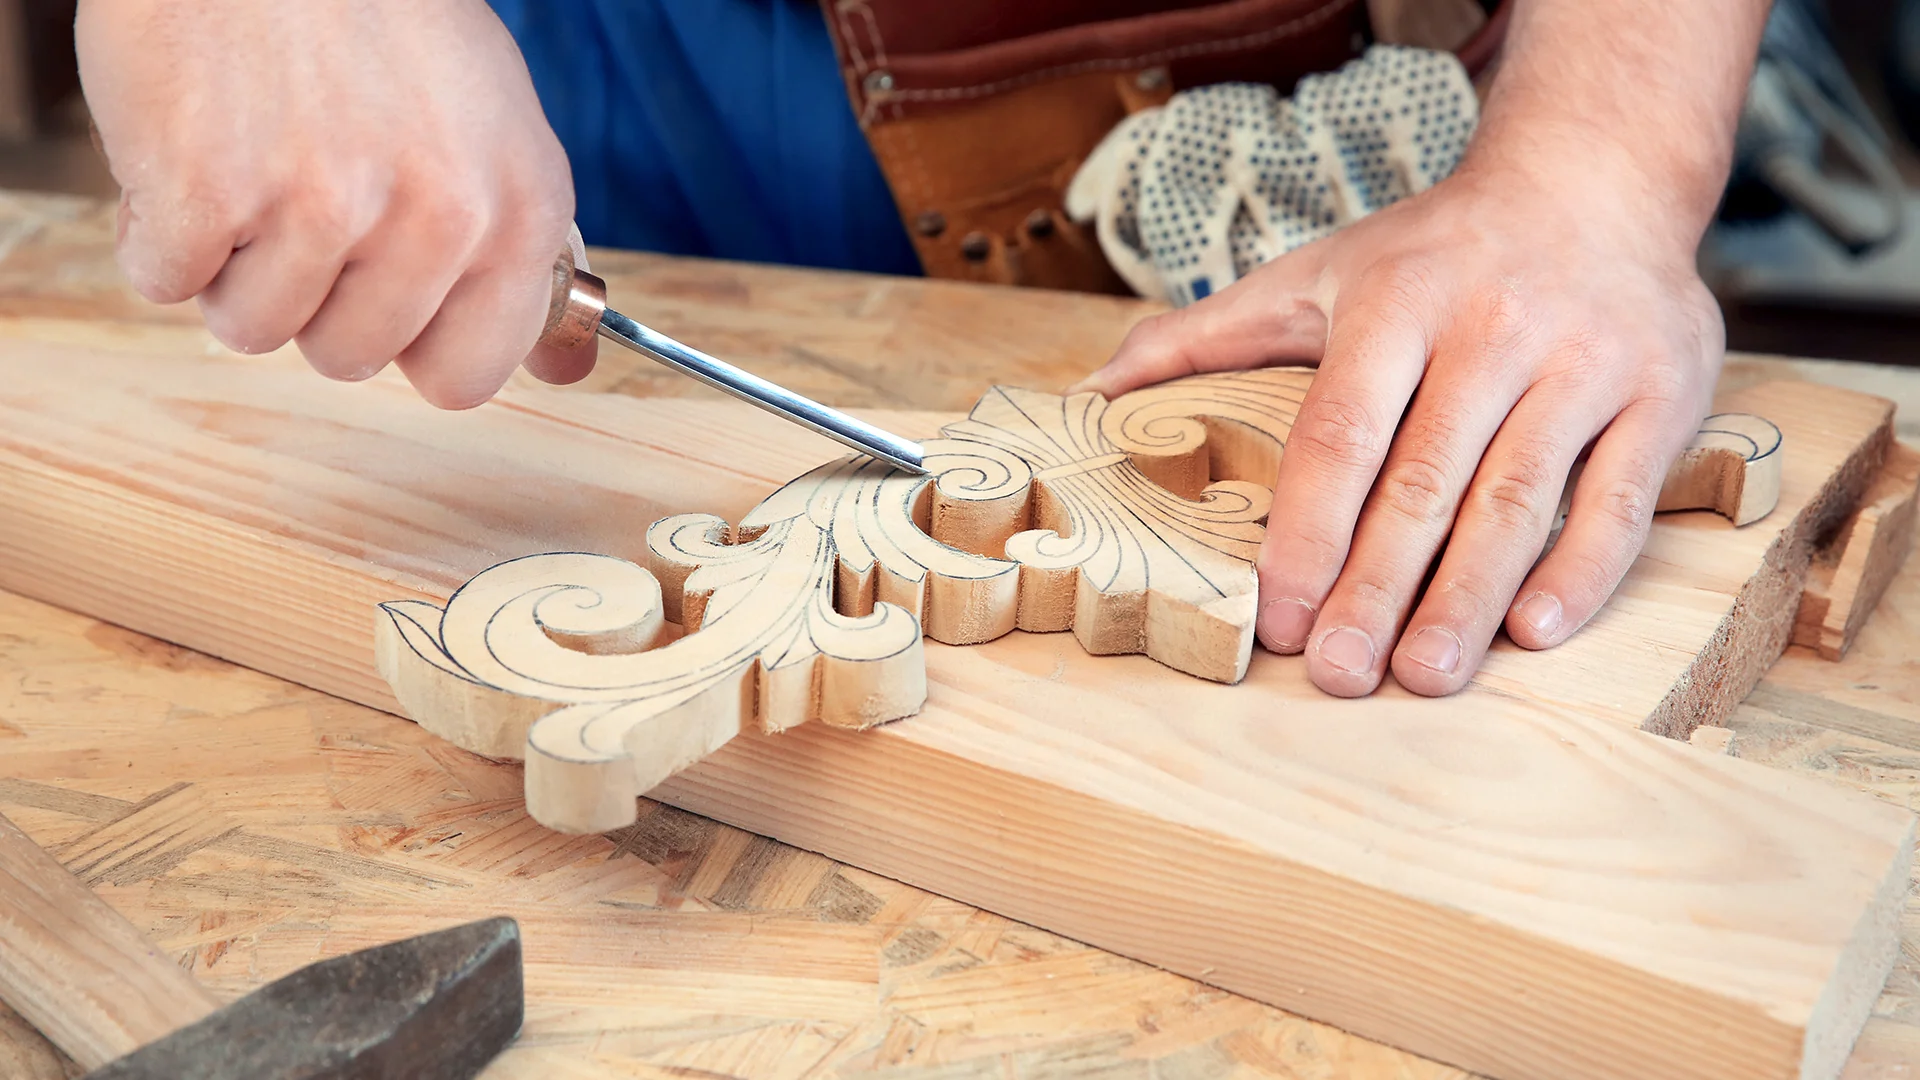
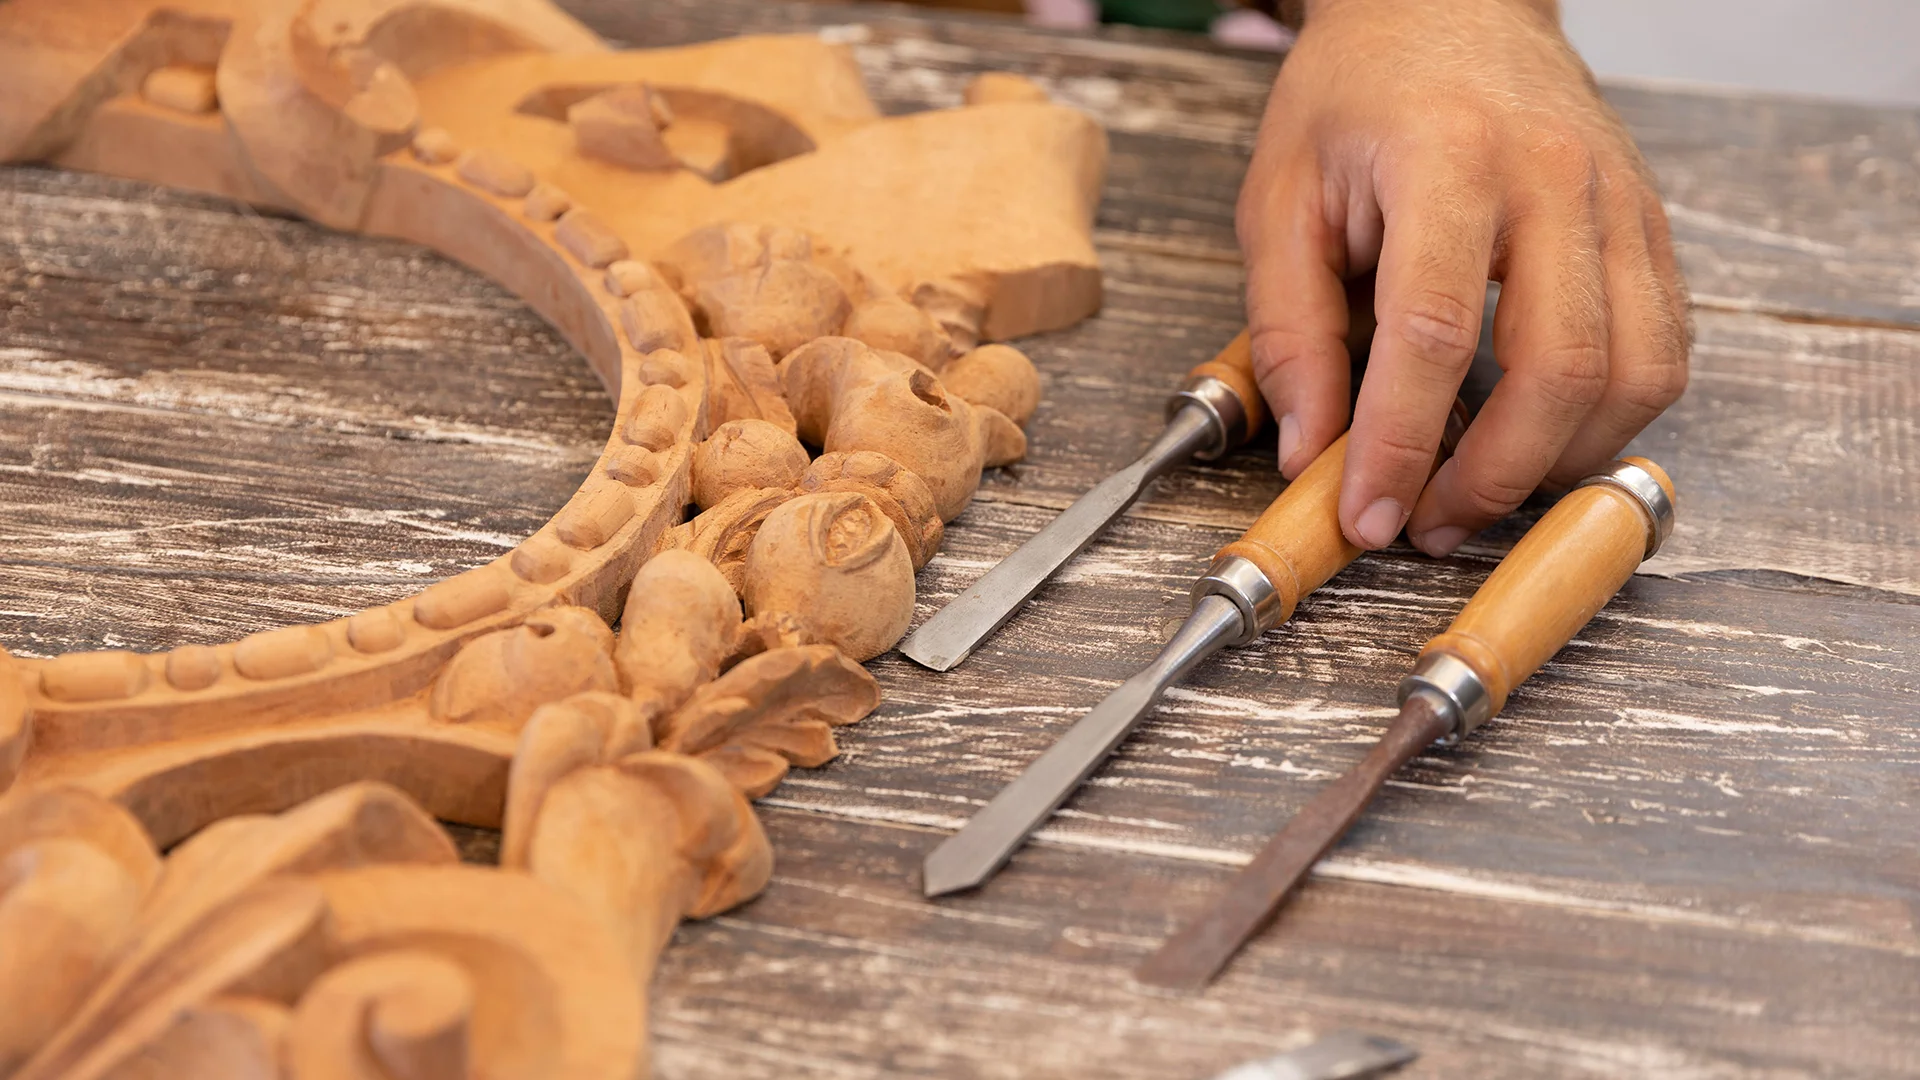
Working with Wood: Carving, Cutting, and Finishing
Which Types of Wood Are Easiest to Carve?
If carving is your thing, choosing the right wood is essential. Soft, fine-grained woods are generally the easiest to work with, especially for beginners. Consider these options:
- Basswood – Often considered the gold standard for carving, basswood is exceptionally soft, has a fine, even grain, and minimal figure, making it ideal for intricate detail work.
- Butternut – Another excellent choice, butternut is similar to basswood in its softness and workability, though it can be slightly more brittle.
- Mahogany – While a bit harder than basswood or butternut, mahogany still carves beautifully and boasts a rich, reddish-brown hue. Keep in mind that “mahogany” can refer to various species, so research the specific type you’re working with, as carving properties may vary.
- Other Carving Woods – Don’t forget other great options like cherry (which carves well and develops a beautiful patina), walnut (a bit harder but carves nicely with a rich, dark color), and aspen (a softer hardwood that’s relatively easy to carve).
- Harder Woods – Harder woods like oak or hickory can be carved, but they require very sharp tools, more strength, and a great deal of patience. They’re generally not recommended for beginners.
Harder woods like oak or hickory can be carved, but they require sharp tools and patience.
Even the best wood needs proper finishing. Follow these steps for a professional touch:
- Wood Preparation – Before finishing, prepare the wood surface. This might include planing, jointing, or filling any imperfections. Ensure the surface is clean and free of dust.
- Sanding – Sanding is crucial for a smooth finish. Start with a coarser grit (80-120 grit) for rough surfaces and gradually progress to finer grits (180-220-320, and even up to 400 or 600 for an exceptionally smooth finish). Always sand with the grain.
- Staining or Sealing – Choose a stain to enhance the wood’s natural color or a sealant to protect it. Stains penetrate the wood and alter its color, while sealers create a protective layer on the surface. There are many types of sealers available, including varnish, polyurethane, lacquer, shellac, and oil finishes. Each has its own properties and best uses. Consider the project’s intended use when selecting a sealer.
- Polishing – Apply wax or oil for a smooth, professional feel. Polishing adds a final layer of protection and enhances the sheen of the finish.
- Testing – Always test your chosen finish on a piece of scrap wood first to ensure you achieve the desired look.
- Safety – When working with finishing products, always prioritize safety. Wear gloves and work in a well-ventilated area.
- Finishes for Carving – For carved pieces, especially those that will be handled or used for food, choose a durable, food-safe finish like mineral oil, beeswax, or a specialized wood finish designed for this purpose.
Conclusion
Wood selection is one of the most crucial steps in woodworking. By understanding the differences between softwood and hardwood, knowing how wood is graded, and choosing the best materials for your project, you’ll set yourself up for success.
Next time you’re at the lumber yard, take a closer look. Your wood choice isn’t just about aesthetics—it’s about durability, ease of use, and overall craftsmanship.
So grab your saw, pick the right wood, and start creating. Your masterpiece is waiting.
Recent Post
Feb. 20, 2025
Wood for Woodworking: Expert Tips to Maximize Quality and Craftsmanship
Feb. 11, 2025
The Ultimate Glossary of Woodworking Terms to Level Up Your Craft

Jan. 23, 2025
Woodworking Logos: The Do’s and Don’ts for a Timeless Design
Jan. 14, 2025
Woodworking Business Names That Sell: Secrets of Branding Pro

Dec. 17, 2024